Wednesday, December 12, 2012

Easy Chocolate Chip Cookie Cake


Earlier this week, while looking at a popular "gourmet" cookie website, I was curious how much a large decorated cookie cake cost. They started at $37.99 and went up from there!  I decided to see if I could make something comparable (and cheaper). I had a coupon for $1.00 off a tube of Nestle Toll House Chocolate Chip refrigerated cookie dough that I had clipped several weeks ago out of the paper.  The dough came to a grand total of $1.69.  I had two free coupons from Betty Crocker, so I got a tube each of both red and green decorating icing.  Even if you had to pay full price for the cookie dough and decorating icing, it still would be a lot less than $37.99!  The next time there is a birthday, anniversary or other special occasion/holiday, try making this.  Your guests will be asking you where you "bought" the special one-of-a-kind cookie cake!!

Directions:

Preheat oven to 350 degrees.  Lightly spray a 12-inch x 1-inch circle pan with non-stick spray.  Press a 16 1/2 ounce tube of refrigerated chocolate chip cookie dough into pan with your fingertips to within one inch of the sides. Feel free to use whatever brand of cookie dough you want, as long as it is a 16 1/2 ounce tube.  Bake for 20-25 minutes or until brown and a toothpick inserted into the middle comes out clean.  Pull pan out of the oven and put on wire rack about 20 minutes.  Since you put a little non-stick spray in the pan before baking, the cookie should come out easily.  Place on plate and decorate if desired. 

Friday, December 7, 2012

Chicken Cordon Bleu


If you make this one night for your family for dinner, they will think they are dining in a five-star restaurant!! Chicken Cordon Bleu is just a fancy name for a boneless, skinless chicken breast wrapped up in ham and cheese :)  I  make my own version (minus the pounding of the chicken breast). This is a "menu" favorite of Lauren's. The chicken stays moist and the cheese melts, so it is really yummy!

Ingredients:

2 - 2 1/2 pounds boneless, skinless chicken breasts
6 slices deli ham
6 slices swiss cheese
1 cup plain bread crumbs
1 large egg
1/2 cup milk
6 toothpicks

In small bowl, cover toothpicks with water and set aside. You have to presoak the toothpicks or they might burn in the oven.  Slice chicken breasts into six even pieces lengthwise and set aside.  In one bowl, put the egg and milk, and mix with fork.  In another bowl, put the bread crumbs.  Preheat oven to 375 degrees and cover an 8 x 8 inch pan with foil - set aside.  Take one of the chicken breasts and dip in the egg/milk mixture first and then dip in the bread crumbs.  Place one slice of ham, folded and then the slice of swiss cheese on top of the chicken breast.  Fold in half and secure with toothpick. Place in pan.  Repeat for the other five pieces.  Bake for approximately 40-50 minutes or until the chicken is no longer pink in the middle.  The cooking time will depend on how thick the chicken breasts are - I bought thick ones, so it took close to 50 minutes to bake.  Remove toothpicks before eating :) Serves six.

Sunday, December 2, 2012

Saltine Cracker Toffee


If you can believe it, this toffee is made with saltine crackers!! I usually associate saltine crackers with cheese and crackers or when you're eating a bowl of soup. This past Saturday, Cathy's Kitchen was very busy. I was in a baking mood and made four different things - sour cream kuchen, peanut butter bars, this toffee and homemade mac and cheese.  To make this toffee, you start out with a "sleeve" of  saltine crackers.
  

Ever wonder why it's called a "sleeve?" I guess maybe because it looks like a sleeve on a shirt, perhaps????  Anyways, these were easy to make, and I found the hardest part was waiting for the chocolate to firm up.  I was pretty impatient and kept touching it about every 20 minutes to see if it was hard yet - it took about three hours before it was ready for "sampling."  This toffee is super rich, but it so good (and addictive).  If you are looking for gifts to give your kid's teachers, bus drivers and other special people in their lives, you could toss some of these into a plastic decorative gift bag or a metal tin. I love giving homemade baked gifts because you can make it exactly the way you want!

Ingredients:

1 "sleeve" saltine crackers (about 38-40) 
1 cup (2 sticks) unsalted butter
1 cup light brown sugar
2 cups (12 ounces) semi-sweet chocolate morsels
Sprinkles or nuts (if desired)

Preheat oven to 400 degrees.  Cover a jelly roll pan (11 inches x  17 inches) with aluminum foil.  You have to use a pan with a little bit of edge or "lip" or else when you put the pan in the oven, the mixture will spill all over the place :(  Once you cover the pan with the foil, spray a light layer of non-stick cooking spray on it.   Line up the crackers like this:


Set the pan aside.  In medium saucepan, put the two sticks of butter and the brown sugar.   Bring to a boil slowly. Once it gets to a full boil, keep stirring occasionally for three minutes.  Remove from heat and pour the butter and brown sugar mixture all over the crackers, coating entirely.  Put in oven for five minutes.  Remove from oven and sprinkle the two cups of semi-sweet morsels all over.  Let it sit about two minutes and then using a spatula or knife spread the chocolate all over until it coats the entire pan. The chocolate morsels melt pretty quickly, making it easy to spread.  I put holiday sprinkles on half and left the other half plain.


You could certainly leave it all plain, make it all sprinkles, or add thinly sliced almonds or finely crushed peanuts.  Let this cool completely (at least three hours) and then break off pieces with your hands. Store up to one week in a covered container at room temperature.  You could get the kids to help line up the crackers or do the sprinkles.  Dominic woke up this morning saying he wanted this for breakfast.  He got the kuchen instead :)

Sunday, November 25, 2012

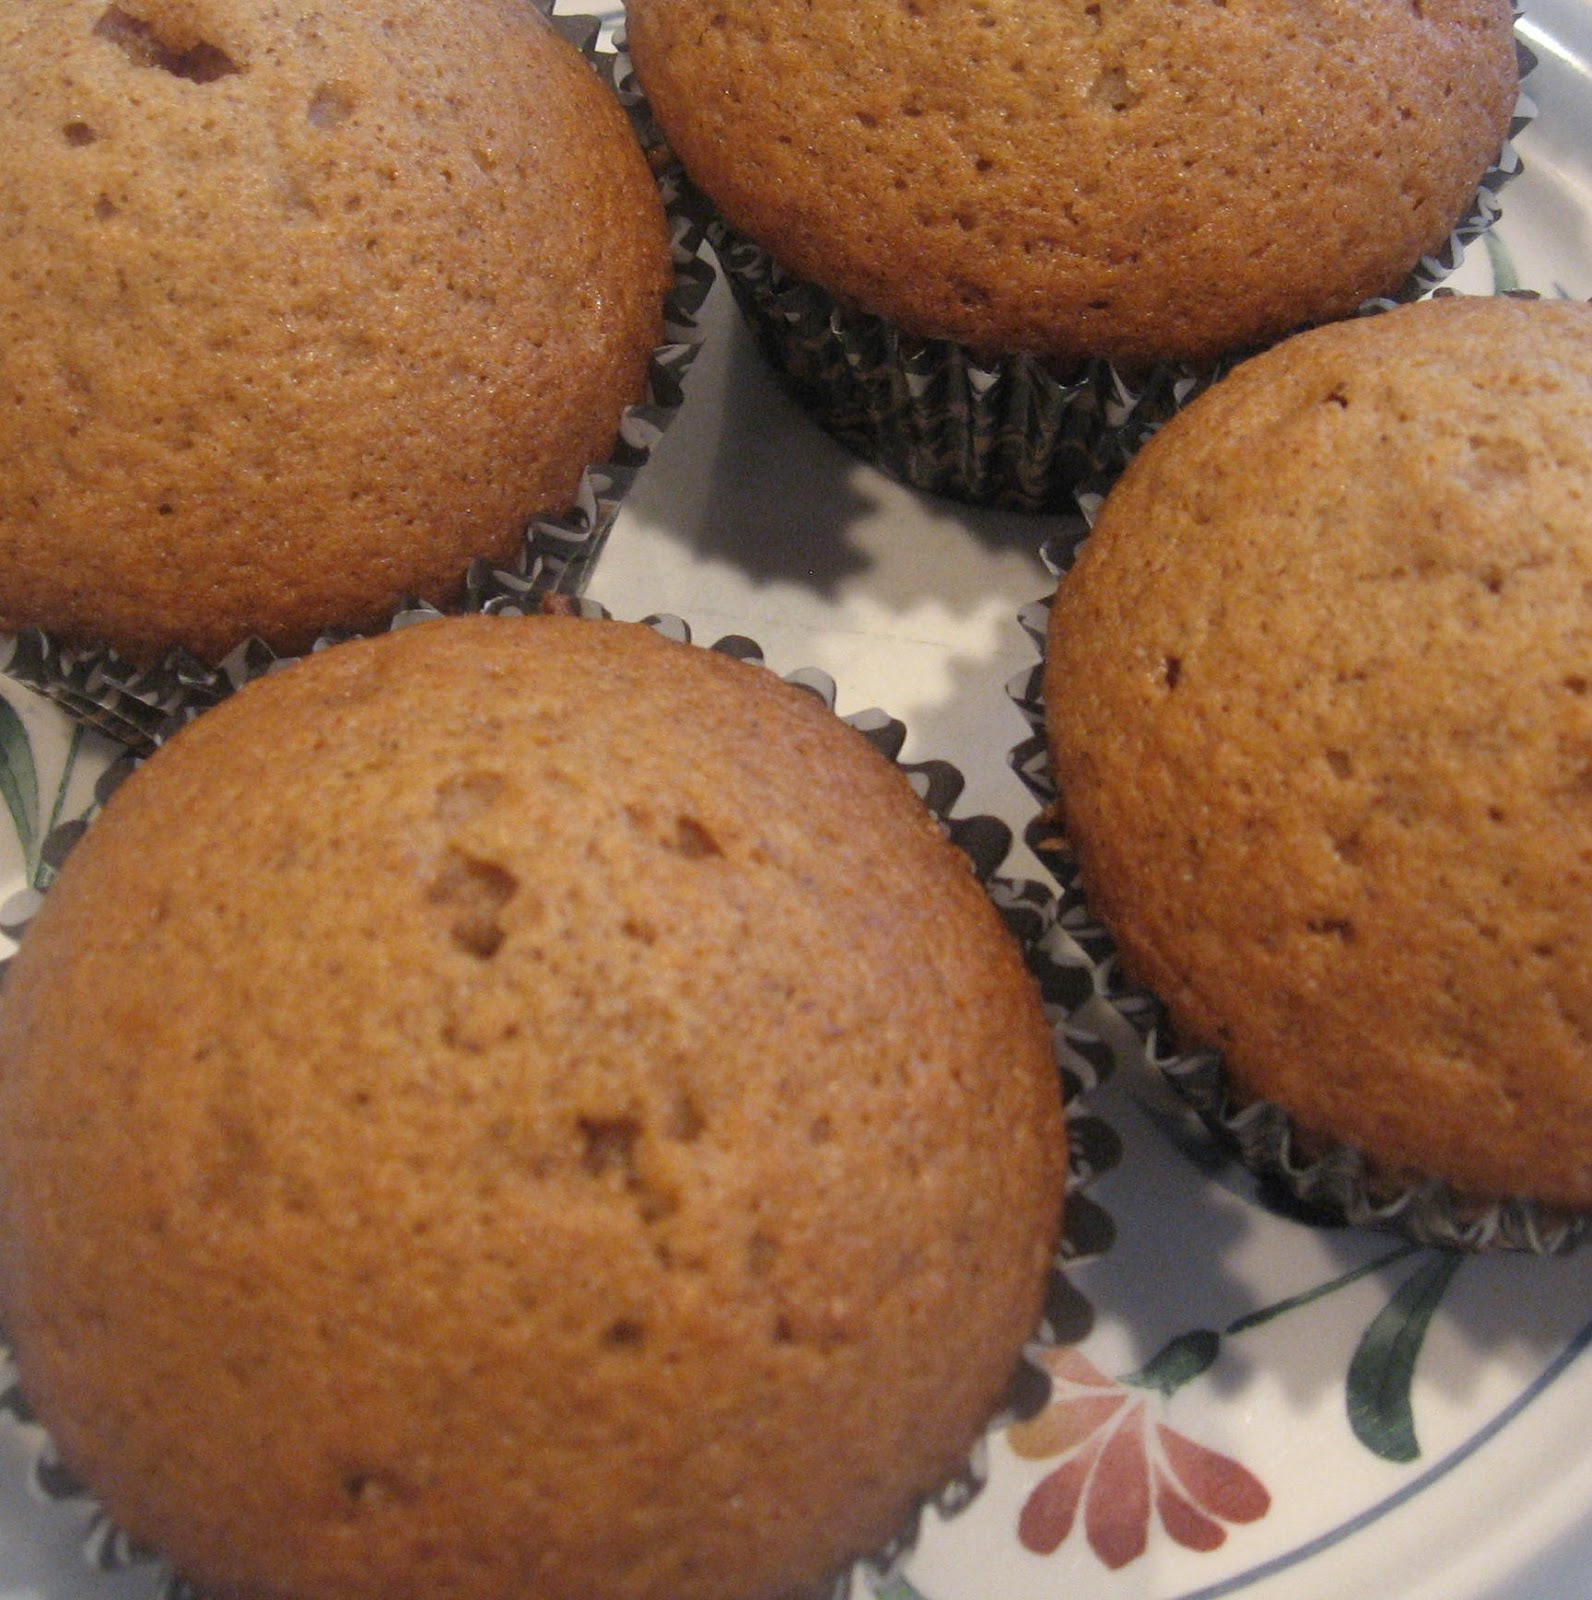
Sweet Potato Muffins


It seems like the only time I think of making sweet potatoes are around this time of year.  I make them the way my father-in-law taught me - you prick them several times with a fork, rub all over with a little bit of butter and wrap thoroughly in aluminum foil and bake in the oven.  We had a few leftover sweet potatoes from Thanksgiving (as we usually do) and I decided to use part of one to make some muffins. My hubby had one of these Saturday morning and gave them a 9.5 out of a possible 10.  I personally think they deserved a 10.5!!  Dominic gobbled his muffin right up, so I know that he agreed with me :)


Ingredients:

1 1/2 cups white flour
3/4 cup white sugar
1/2 teaspoon salt
1/2 teaspoon vanilla extract
1 teaspoon baking soda
1/2 cup cooked sweet potato, skin removed and mashed
1/2 cup canola oil
1/4 cup water
2 large eggs
1 1/2 teaspoons cinnamon
1/2 teaspoon nutmeg

Preheat oven to 375 degrees.  Put paper liners into a 12-muffin tin and set aside.  In large bowl, put all ingredients in the order above.  Mix well with large spoon, by hand, until mixture is smooth.  Pour evenly into muffin tins and bake 15-20 minutes or until toothpick inserted into the middle of a muffin comes out clean. Remove from oven and let cool on rack about 10 minutes.  Makes one dozen muffins.

Monday, November 19, 2012

Cranberry and Oat Bars


I have never been brave enough to battle those crowds on "Black Friday." But, if I was adventuresome enough, I would definitely toss a few of these bars in my purse to keep me fortified for all that shopping!!!  I ate one of these this morning and I wasn't hungry for hours.  One of these bars would also be an excellent afternoon snack with a glass of milk for the kids and a cup of hot coffee or tea for you!
  
Ingredients:

1 cup margarine, softened
1 cup light brown sugar
1/2 cup white sugar
1 1/2 cups white flour
2 large eggs
2 tablespoons milk
1 teaspoon baking soda
1/2 teaspoon salt
2 teaspoons vanilla extract
2 cups old fashioned oats
1 cup dried cranberries

Preheat oven to 375 degrees.  In large bowl, put all ingredients in the order given except the oats and cranberries.  Mix ingredients by hand or with mixer until smooth.  Fold in the oats and cranberries gently with large spoon until well combined.  Pour batter into ungreased 9 x 13 inch baking pan.  Bake for 30-35 minutes or until brown and a toothpick inserted in the middle comes out clean.

Sunday, November 11, 2012

Apple Crunch


The hubby recently went grocery shopping and brought back a five-pound bag of red delicious apples.  I told him that was a lot and he said, "Dominic likes apples doesn't he?"  We all like apples here and we could probably eventually eat that many, but lately I have been thinking about making an "apple betty."  I started searching through my collection of cookbooks and found something in a cookbook published in 1938 by The Midland Flour Milling Company in Kansas City, Missouri, called an "apple crunch."  I've heard of buckles, cobblers, and crisps, but never a "crunch." One of the products the company produced was/is Town Crier Flour. I did a little research and couldn't find very much information on the company and whether Town Crier Flour is still being manufactured.  I'm not 100% sure where this cookbook came from.  My grandmother was from Missouri and her dad was a baker, so it makes sense that it might have belonged to her.  But, I did acquire some cookbooks that belonged to my mother-in-law and she did a fair amount of baking, so it might have been hers.  In the ingredient list, it had nutmeg or cinnamon with no measurement listed.  I guessed at how much to use and whether I should use cinnamon or nutmeg. Being a cinnamon gal, I picked that spice over nutmeg.  I love this cookbook because it has 300 recipes all using the Town Crier Flour.  I guess I have another 299 recipes to try!!!

Ingredients:

6 large apples, peeled and cored, sliced thin
1/2 cup white sugar

Topping:

1 cup white flour
1 cup light brown sugar
1/2 teaspoon cinnamon
1/2 cup unsalted butter, slightly softened


Preheat oven to 350 degrees.  Spray the bottom of a 9 x 13 inch baking pan and set aside.  In small bowl, mix the flour, brown sugar and cinnamon with large spoon until well blended. Using two knives "cut" in the butter until the mixture resembles small crumbs.  Set aside.  Peel, core and slice the apples and put in a single layer on the bottom of the baking pan.  Sprinkle the white sugar on top of the apples.  Cover evenly with the topping mixture.  Bake for 30-35 minutes or until apples are soft and bubbly.  The hubby and I had this after breakfast, but it would be superb warm with a small scoop of vanilla ice cream on top for an after dinner dessert  :)

Sunday, November 4, 2012

Mexican Taco Dip


Now that we are into the month of November, it seems like suddenly we're into the holidays!!  That means going to parties :)  Instead of taking the usual chips and salsa to your next get together, try making this mexican taco dip.  I whipped this up in less than ten minutes, so if you get invited last minute to a party, don't worry.

Ingredients:

16-ounce can refried beans
1/2 cup salsa
1 cup sour cream
Taco seasoning mix (1.25 ounce package)
1 cup shredded cheddar cheese
1 small tomato (seeds removed and diced)
Tortilla chips

In small bowl, mix refried beans and salsa together until creamy.  Spread evenly on the bottom of 9-inch pie pan.  In separate bowl, mix sour cream and 2 1/2 teaspoons taco seasoning mix.  Save remaining taco seasoning mix for the next time you make tacos or this dip :)  Spread sour cream mixture on top of beans and salsa.  Sprinkle cheddar cheese evenly on top.  Cover with plastic wrap and put in fridge until ready to eat.  When ready to enjoy, toss diced tomatoes on top.  Serve with tortilla chips.

Club Cracker Toffee

You know when you have a "taste" for something and until you eat it, you won't be satisfied? Late yesterday afternoon, I want...